DIY Modern Floral Pumpkin Centerpiece With Whole Foods Market
If reading this on a mobile device, you will want to make sure to read it in landscape mode …
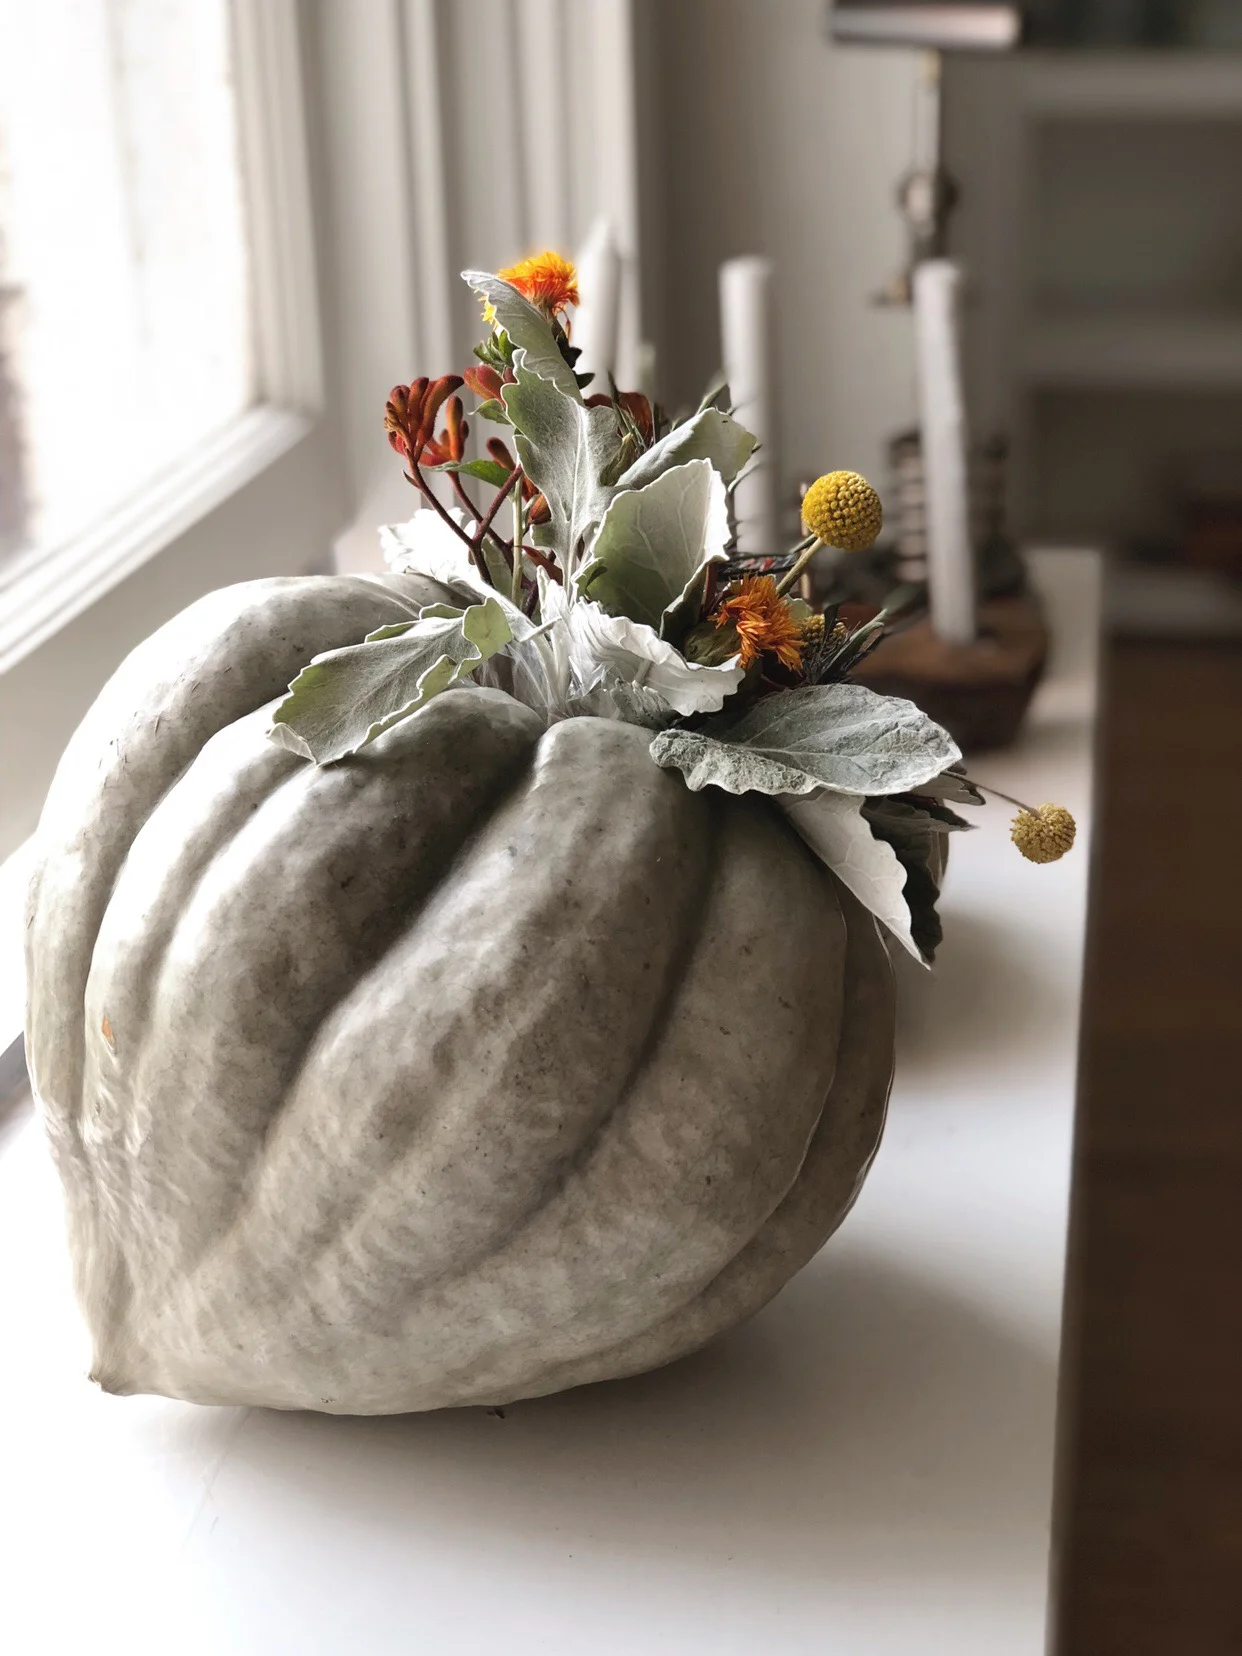
Looking for simple, elegant Halloween and Thanksgiving table decor ideas? This pumpkin floral centerpiece combines sage green and a softer, romantic color palette that screams all things fall.
I will totally admit that this fall I’ve been struggling with inspiration. Everyone was decorating pumpkins and making cornucopias and it was all I could do to bring out some of our festive decorations. So I headed over to Glitter Guide’s website (something I always do when I need some good inspo) and I found these beautiful pumpkin floral centerpieces that Baba Souk shared on their site! I fell in love with the look of them and was so intrigued by how easy they seemed to put together!
Shopping List
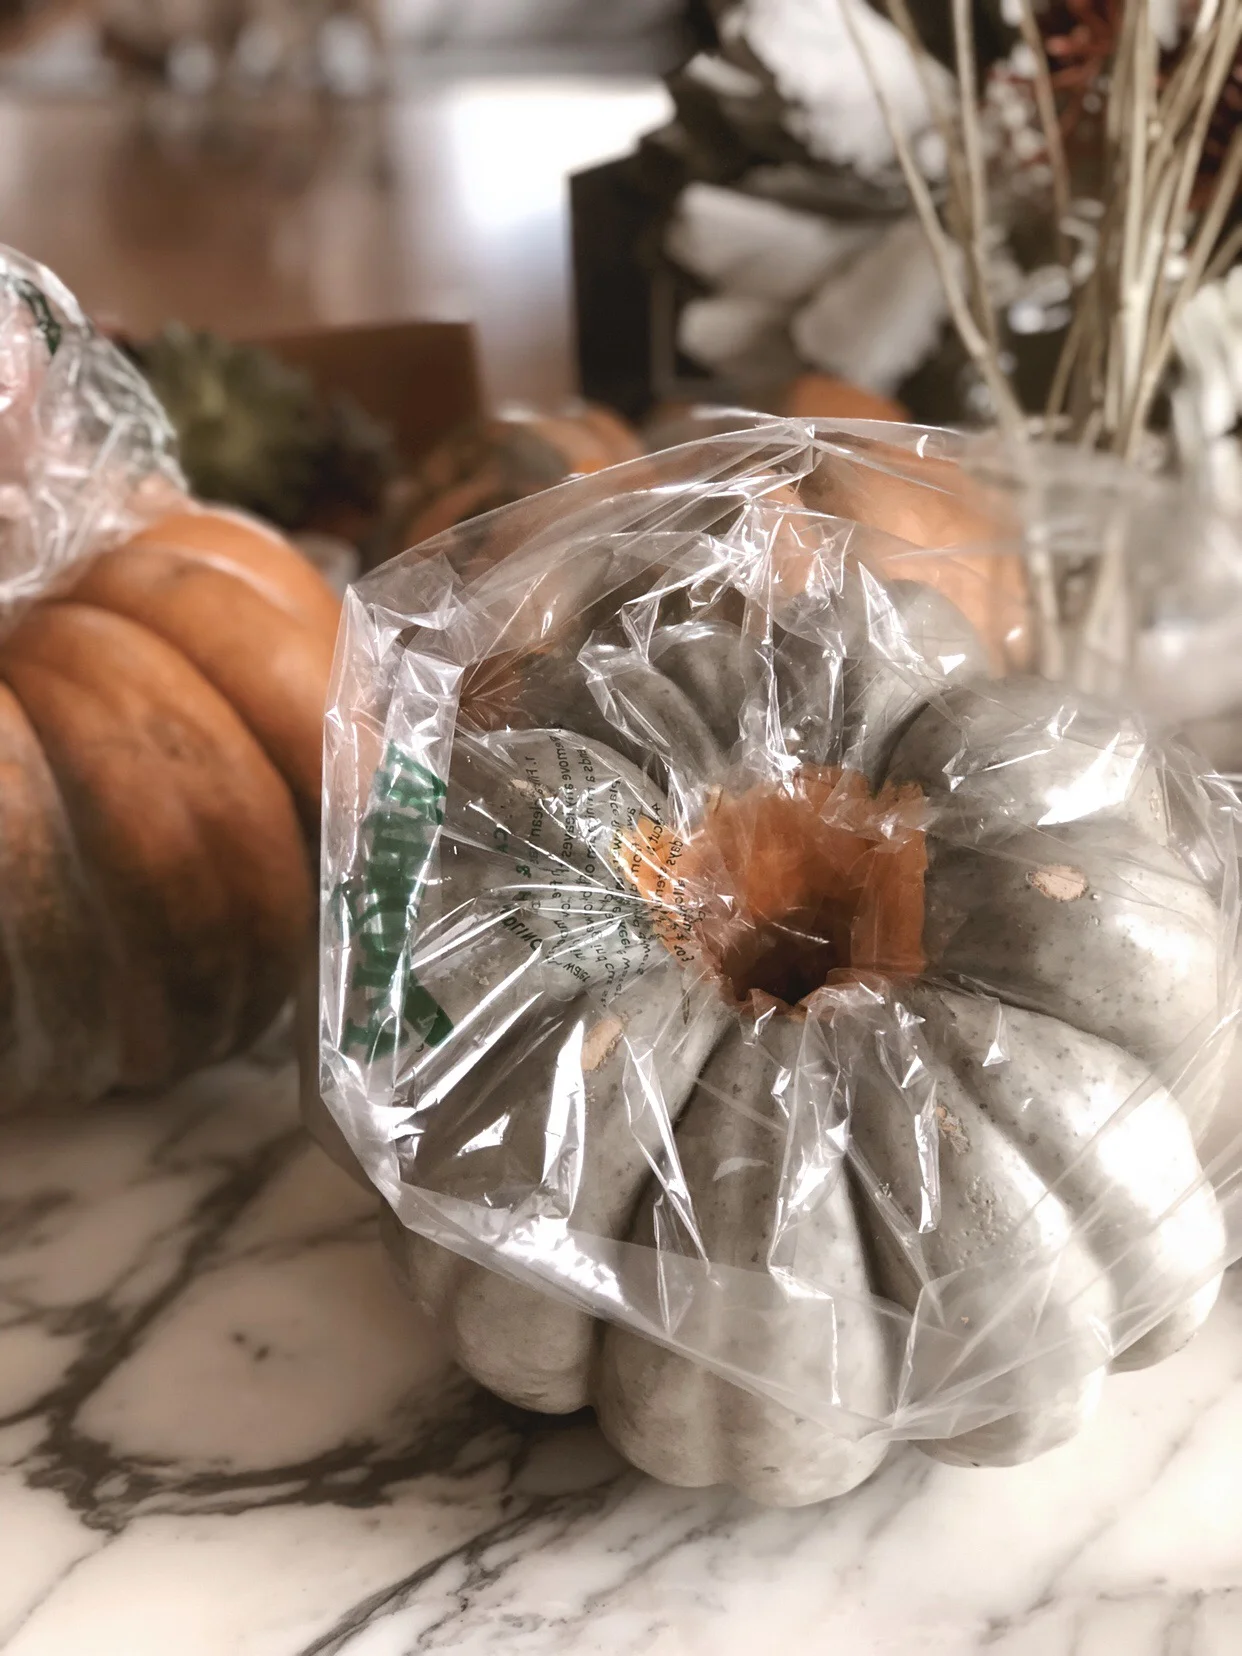
I went with the minty green and peachy orange pumpkins for this project! All though I would love to create one in a ghost pumpkin! Can you imagine the way the colors would pop with the white?! Nicole was so sweet to cut the hole in my pumpkins too. Little top secret-if you buy your pumpkins from them they will gladly help you cut the top of it. Nicole also gave me some amazing tips telling me that it will last longer with the “guts’ left intact. I was planning on doing all that messy stuff prior to Katie coming over so it was a huge relief to learn that we could just leave them “as-is” ! I was also planning on soaking foam for the insides of my pumpkins and Nicole reminded me that this is not environmental and I was so appreciative of that. She stuffed the hole with a plastic liner and said to just fill it with water and begin adding flowers! Talk about easy!!!! My goodness.
Greenery – here we used Dusty Miller, which is also a garden green. If you can’t find it, a great substitute is seeded eucalyptus or lambs ear.
The large flower in the arrangement is just a large mum but in the most beautiful insane color
There are two different varieties of thistle in here – a blueish one (blue bell) and one with a pop of orange (cirsium). Spray roses or small mums could be a substitute if your store doesn’t have something similar.
We also had kangaroo paw (the reddish flower around the top). It looks a lot like freesia to me, which is super fragrant.
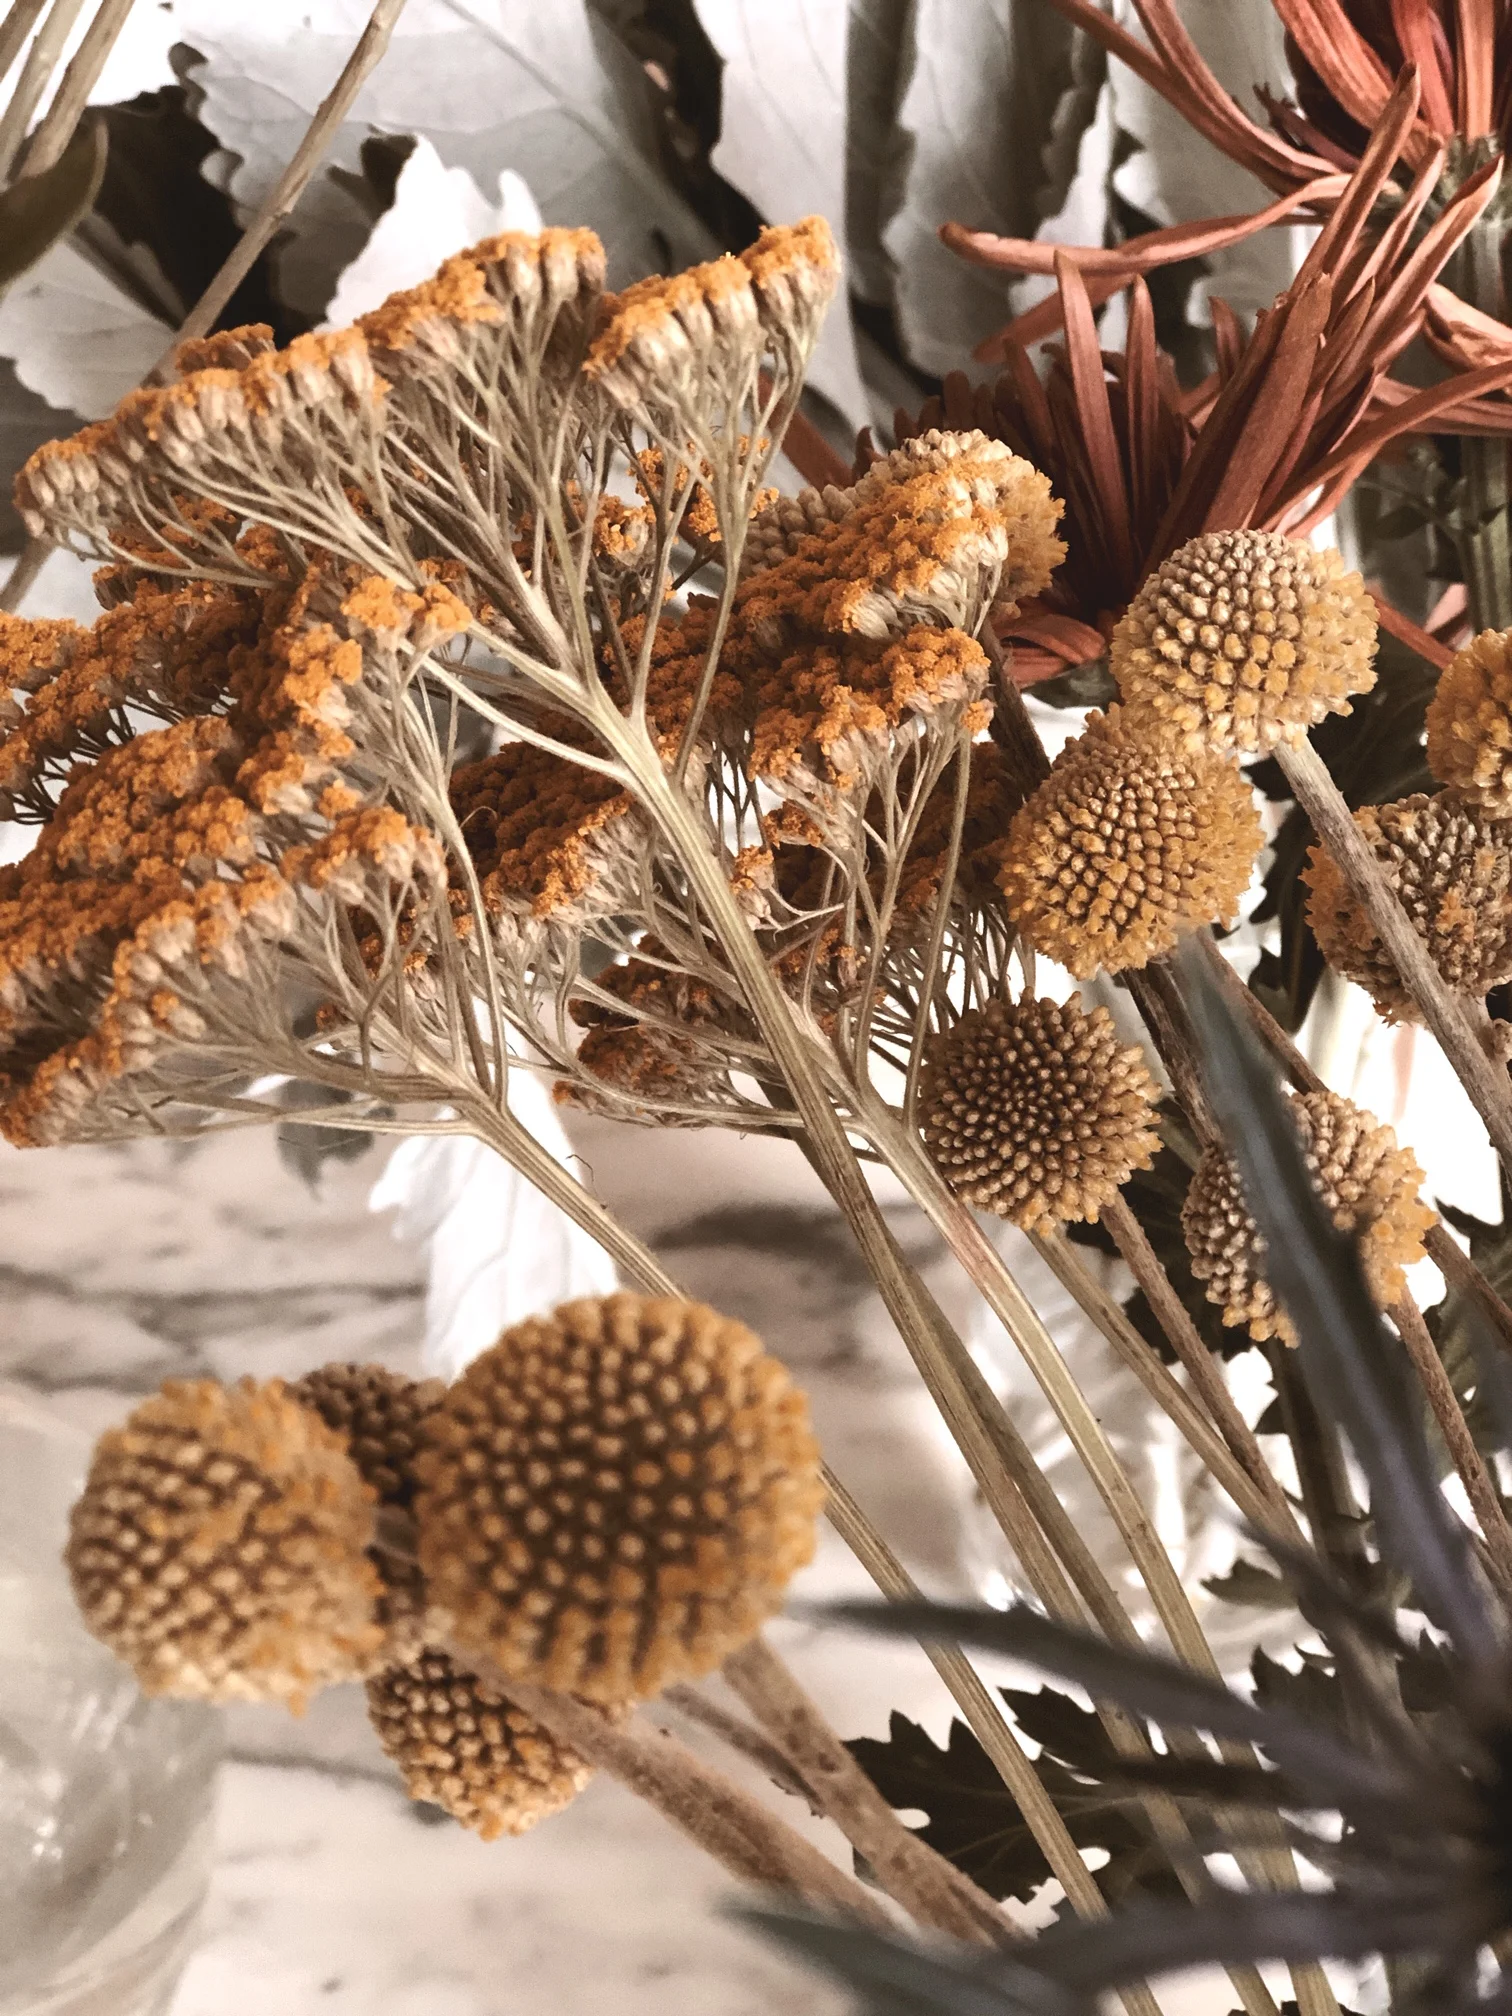
The yellow Billy Balls add another element of texture!
Feel free to replicate these or just focus on your fave color palettes and flowers or have Nicole help you create something!
Are these not the most beautiful floral pumpkin centerpieces you have ever seen?!!!!! We really hope we have inspired you to create your own!! And please tag us in your pics. We would love to see your creations!!! Seriously go see Nicole if you are local at Whole Foods Market and follow Katie for so much DIY inspo. I am so into this! She pulled it right out of me. We hope to do something again together around the Christmas holiday so stay tuned for that!!!
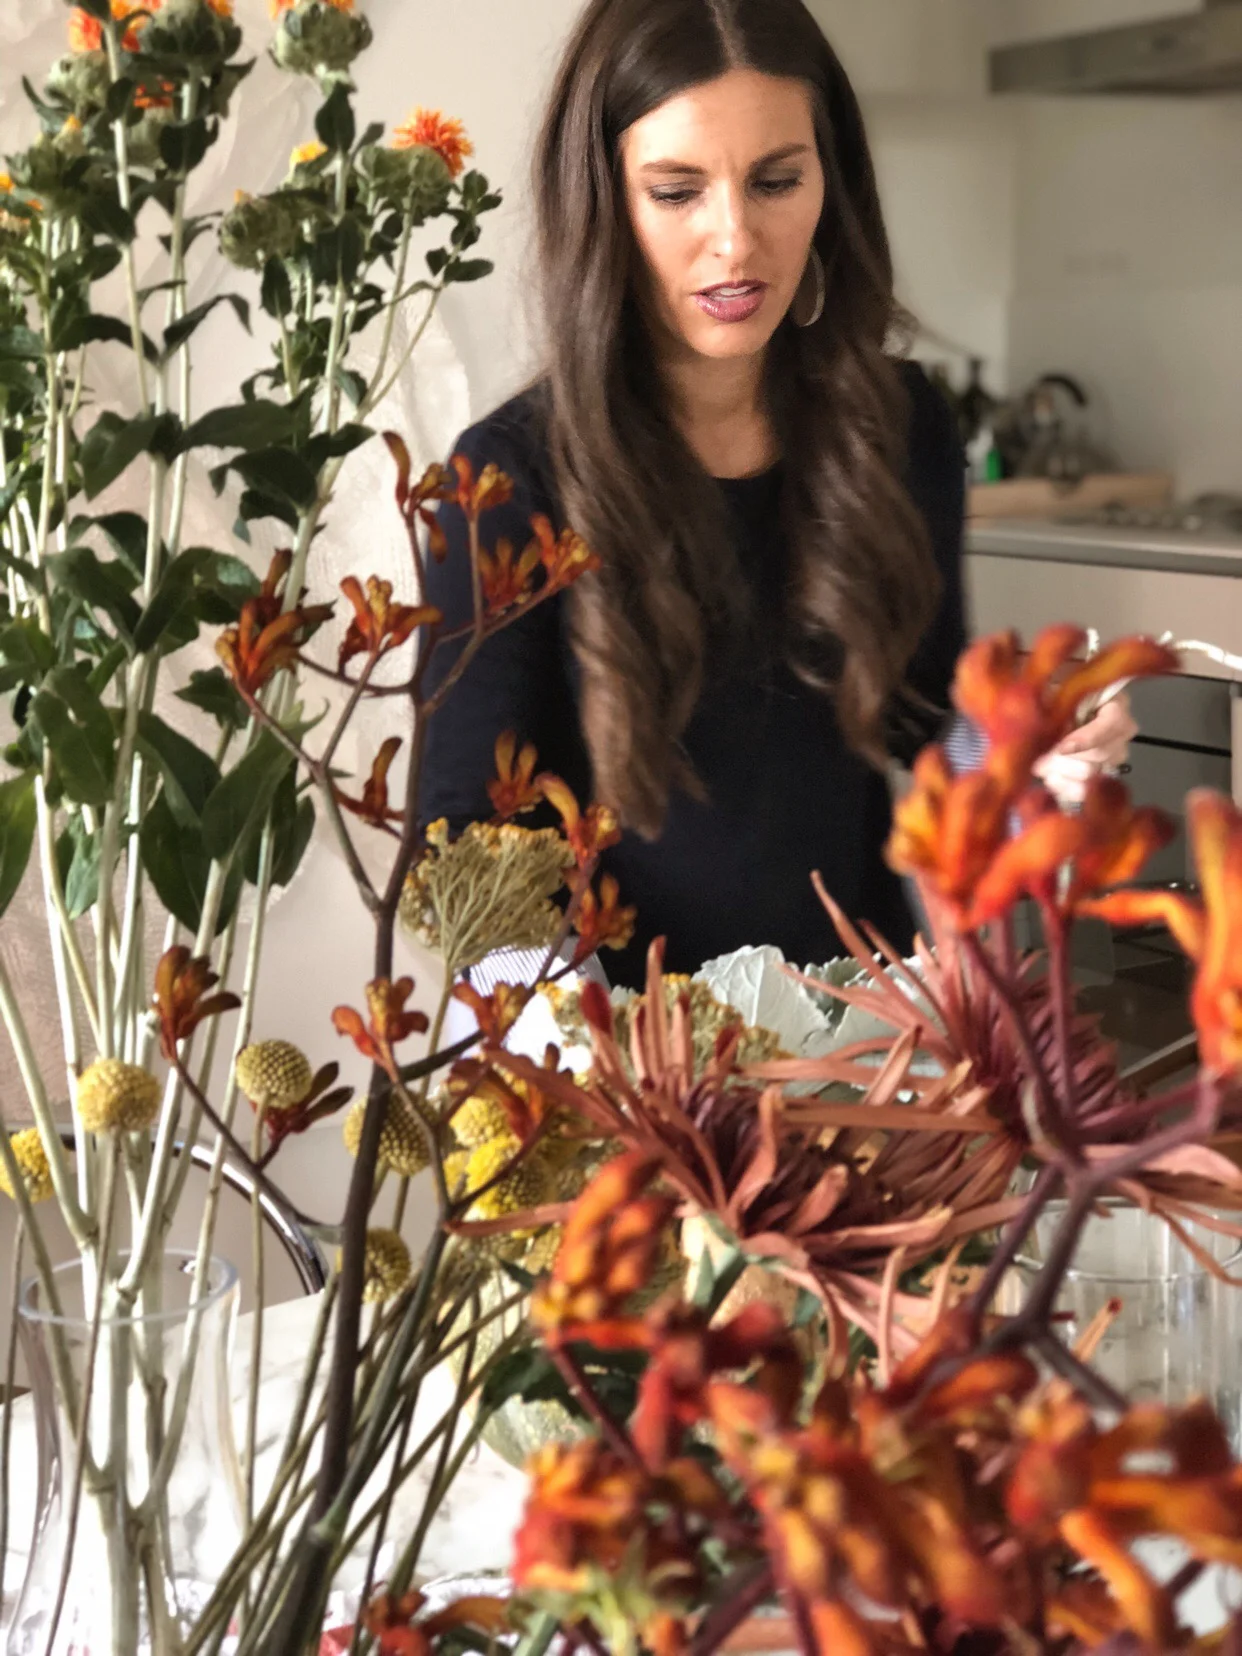
I now have pumpkins displayed in no less than three rooms, and I’m on my fourth pumpkin-filled arrangement… You can’t stop me! And the timing couldn’t have been more perfect since I have been dying to collaborate on a floral project with Katie from It’s in the Details. She is a former floral designer and her easy DIY’s always peak my interest! But too, I also have always wanted to pull her a little bit out of her comfort zone creating something a bit different than what she typically is drawn too! And I have always wanted to learn more about florals.
So as soon as we nailed a date to get together it was time to start flower and pumpkin shopping and I knew Nicole at Whole Foods Market on 41st and Peoria would help me with everything I needed. ( They seriously have the best pumpkins too) She always picks the best flowers for me and she knows and appreciates my style and how I really like playing with unique color combos and textures! I love working with her so much! You should see her wedding bouquets she puts together and you should see this Valentines’s Day flower installation we did in Lin’s vintage Porsche!
HOW TO MAKE A PUMPKIN CENTERPIECE
Took these tips from Katie’s blog post! She is the greatest ya’ll. I learned so much !
1- Insert a plastic lining (if your pumpkin doesn’t have this already) in the hole of your pumpkin and add water. (I like to use warm water as it encourages the water to rise into the petals.)
2- Add greenery to create a base.
3- Start with your largest flower and work to your smallest arranging the at different heights to give some visual interest. As you can see in the video on Katie’s blog post, she likes to hold them up to the vessel to see how short she should cut them. She always recommends cutting them at a 45 degree angle to get as much water in them as possible. (On your flowers Katie had me remove all of the leaves and thorns from the flowers. You want to keep any greens from being submerged in water because bacteria live on the leaves, which can decrease the vase life of your arrangement. )


